Your much needed dose of orange. All about home decor, crafting, tutorials, furniture and any other random topics that I feel like posting about.
DIY Nailhead Chunky Leg Bed Frame
30 December 2011
Since moving into the house we have had our mattress and box spring on the floor. We have a metal bed frame but because of the sloped ceilings it was too tall to use. I love upholstered beds but had no desire to pay retail and after stumbling upon Ana White's website I no longer need to. She has given us the courage and skills to build a lot of our own furniture.
Categories:
diy,
furniture,
my projects
21 December 2011
I'll never understand why man's best friend has such a short life span. We adopted Saber 2 1/2 years ago from animal control and he crossed over to the rainbow bridge today. He hadn't been eating and results of a blood test showed that his bone marrow was no longer creating enough platelets and red and white blood cells. We weren't able to find any definite cause before he passed. He was my snuggle buddy. a companion to our other husky and just the best. I didn't have nearly enough time with him and he will be missed.
Categories:
pets
05 September 2011
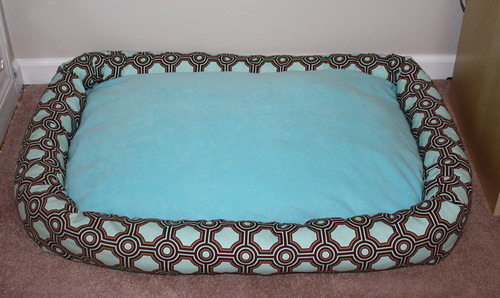
You may remember the giant dog bed that I made for the huskies. Even though it took a long time to make, they didn't use it at all (I don't blame them, it was kind of hard) and it seemed silly to leave it taking up all that space. So I tore apart all my hard work and made a new smaller bolster bed.
I'm happy to report that at bedtime Sabe goes straight to his new bed.
I really couldn't even begin to create a tutorial on how I made this, it was a lot of trial and error. And if I were to make another I would do it completely differently. If you are interested in making one for your dog check ebay for McCalls Easy Stitch n Save pattern #5506. It's an older discontinued pattern but it's very similar.
Pin It
Categories:
my projects,
pets
06 June 2011

I stumbled upon this fantastic orange dresser/buffet and had to share. Available at Live.Like.You for $998.
Categories:
furniture,
home decor,
orange,
shopping
24 March 2011
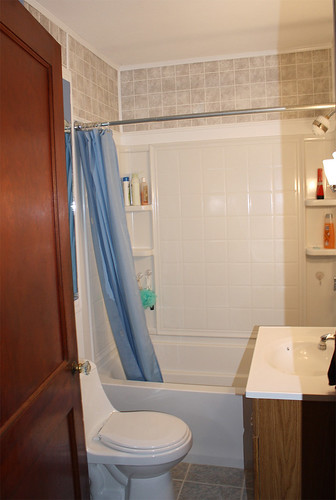
This is the bathroom before. There was barely any space between the sink and toilet and you ended up touching the toilet when getting out of the shower (*shudder*). There was blue and pink tile on the floor and what looks like tile on the wall is actually some sort of fake tile board.
The chimney is between the bathroom and kitchen wall making for an awkwardly spaced bathroom. We bumped into the hall linen closet to create an actual space for the vanity and some much needed breathing room between the toilet and sink. I'm planning on painting all of the doors white and rehabbing the glass knobs, but haven't gotten around to that yet.
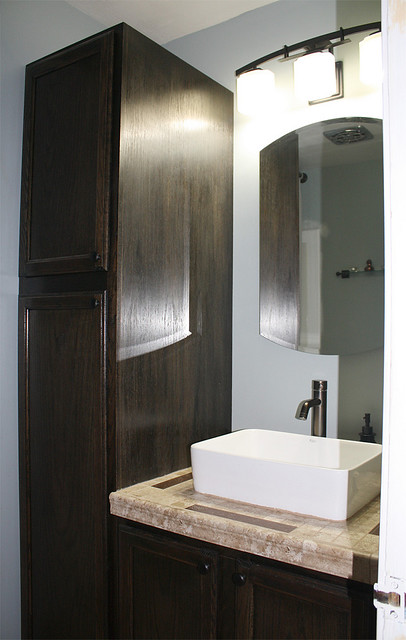
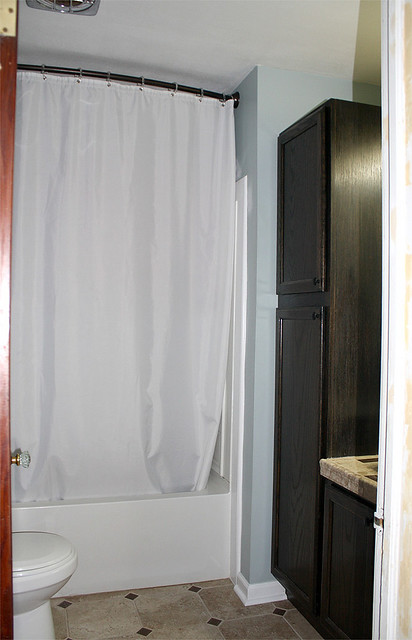
Here is the bathroom after:
My favorite part of the new bathroom is this fabulous sink from overstock.com. I wanted a vessel sink but nothing too modern and I think this works perfectly. Instead of buying a vanity we used unfinished stock cabinetry and stained them a nice dark ebony color. Since opening up the bathroom resulted in losing the linen closet we added a matching pantry cabinet. The countertop was created from smaller tiles that match the floor. And since I couldn't find an oil rubbed bronze light fixture that I liked I spraypainted a brushed nickel one.
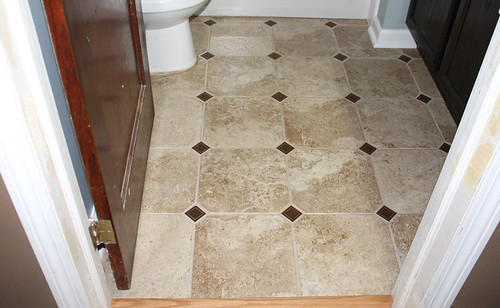
Here is the new floor tile.
I used this idea from young house love to make the ceiling look higher and hopefully keep more steam in the shower (I hate a cold shower). The only problem is finding a reasonably priced, appropriately sized, non-boring shower curtain that is 96" long. I have only found a few and nothing to my liking. As a result, sometime in the future, you will see a shower curtain tutorial.
07 March 2011
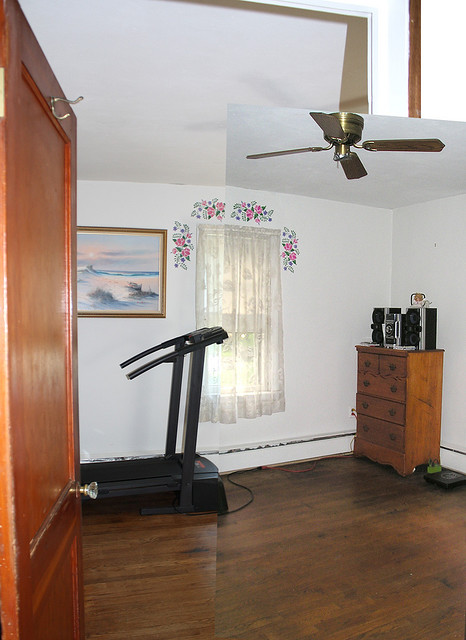
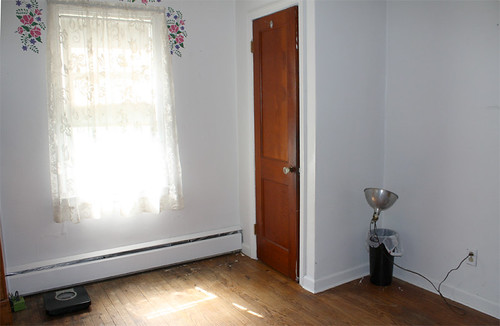
This house was listed as a 4 bedroom, which just doesn't seem appropriate for the square footage. This house is only around 1100 SF with one bathroom. To say that it has 4 bedrooms just doesn't make proper use of the space. I guess you could put a table in the kitchen (the previous owner had a small round one) but it would be right in your path to get to the rest of the house. So the 4th bedroom has become the dining room.
This is how it looked before.
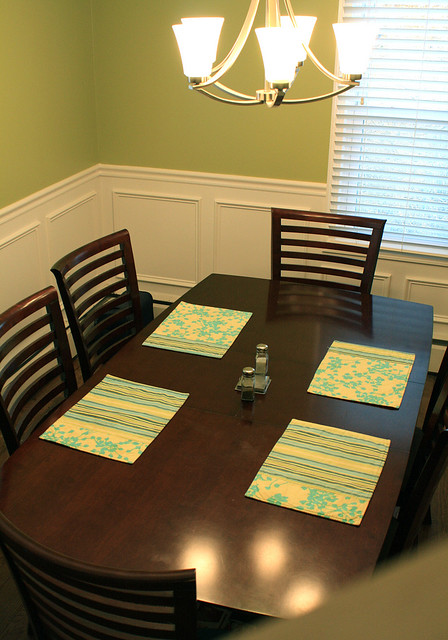
Here is the after. I'll have to take some better pictures but for now this is what I have. We replaced the ugly, non-working fan with a new chandelier and created wainscoting panels made from base cap molding.
This is how it looked before.
Here is the after. I'll have to take some better pictures but for now this is what I have. We replaced the ugly, non-working fan with a new chandelier and created wainscoting panels made from base cap molding.
21 February 2011
I spend way too much time thinking about kitchens.
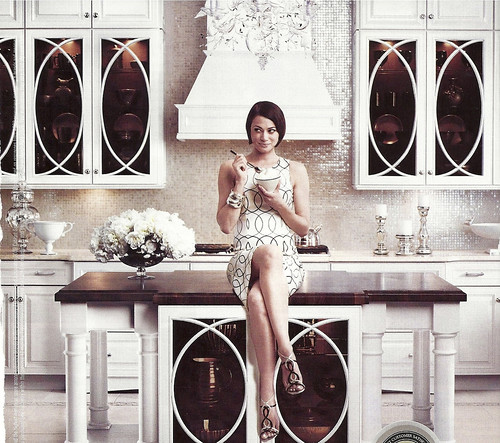
Here are a couple of my dream kitchens. I'm not normally one to go for something so traditional but I love this Kitchenaid kitchen.
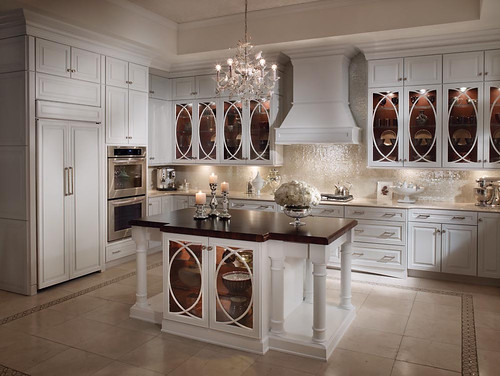
Here are a couple of my dream kitchens. I'm not normally one to go for something so traditional but I love this Kitchenaid kitchen.

I found this one in the Diamond cabinet catalog at Lowe's. I love the damask wallpaper and the black and white theme.
Categories:
interiors
31 January 2011
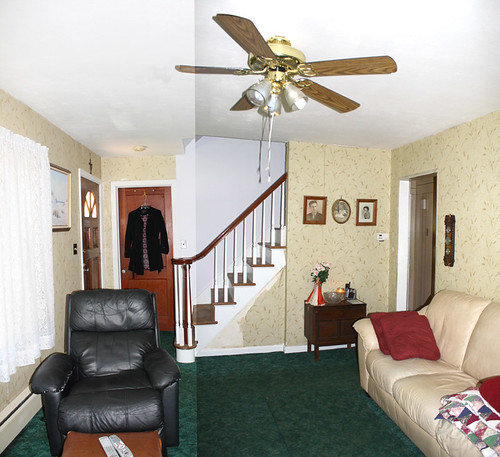
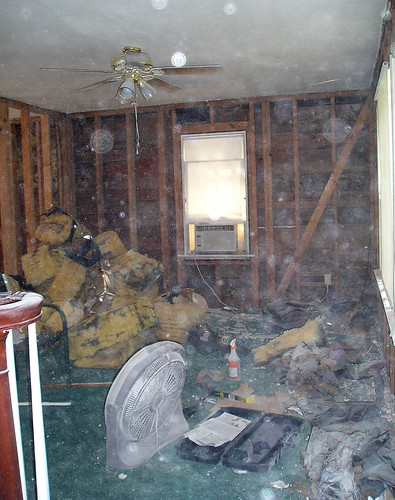
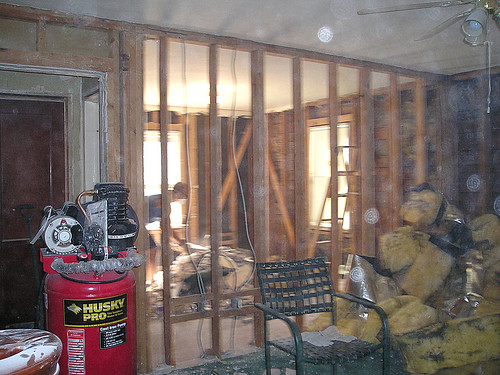
Here is a picture of the living room before it was pretty much gutted. It's a beauty, right? Don't you just love the ugly green carpet, peeling wallpaper and gold ceiling fan?
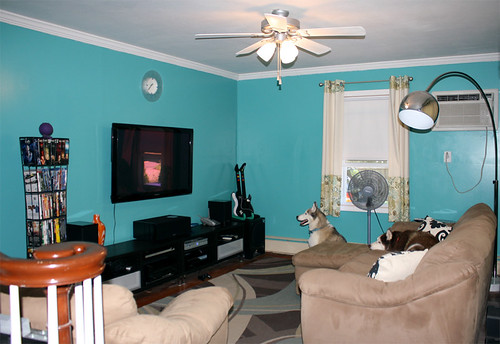
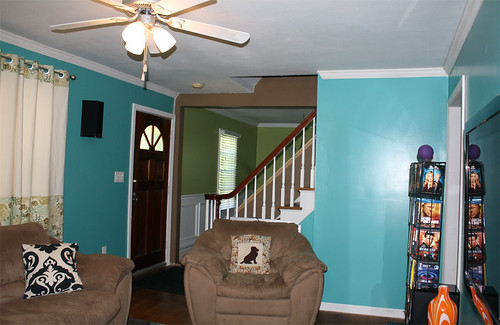
Here is the living room after.We opened up the wall between the living room and dining room to make everything more open. If/when we get around to redoing the staircase we want to open it up so that it looks more like this.
21 January 2011
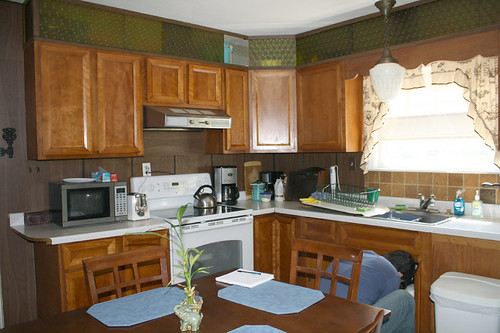
Kitchen - Before
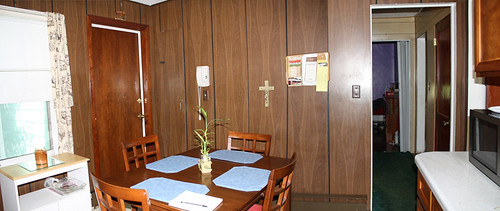
Guess what we found behind the wood paneling? More wallpaper. What a surprise.
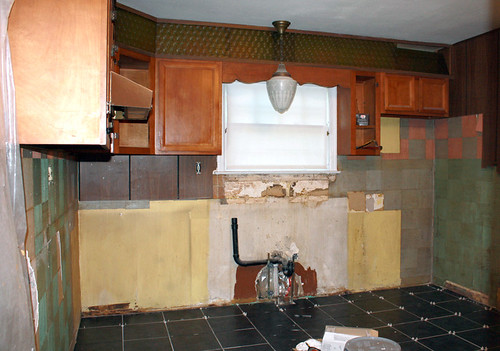
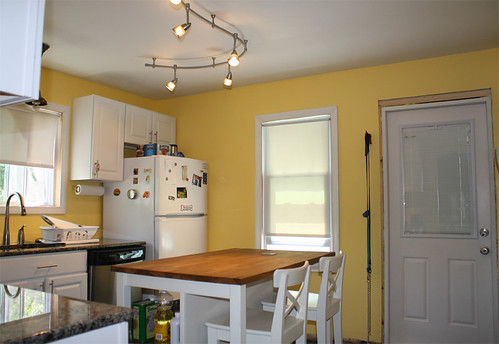
The kitchen was absolutely terrible and there is no way that we could have lived with it even for a little while. The solution was a complete gutjob. From the disgustingly dirty cabinets and awful wood paneling to the badly faded countertops and vinyl flooring; everything had to go.
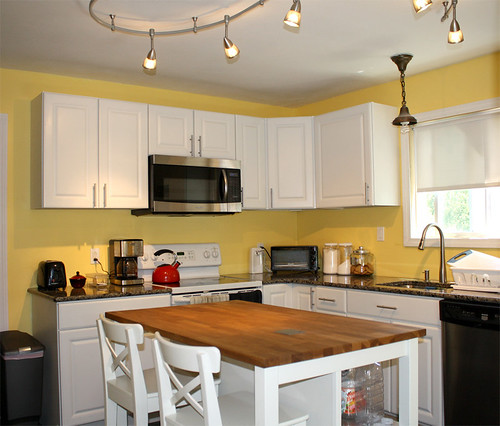
The initial plan was to clean and repaint the cabinets, but we needed the kitchen done ASAP and it was just taking too long. Have you ever lived without a kitchen? Being someone who refuses to eat microwave dinners, it was not a fun experience. We ended up buying off the shelf cabinets from Lowes. In hindsight we should have at least priced out some other options but what did I know? I've only ever lived in apartments. We topped it off with summer sage granite and a black tile floor.
No room in this house is completely finished. As you can see there is still a bizarre pendant light remnant from the old kitchen that needs to be replaced. We still need crown molding and painted trim. There are a ton of things I would have done differently had we had more money and time. But it is definitely an improvement over what was here before!
10 January 2011
After closing on the house we had about a two week window until we had to be out of the condo, which turned out to be a godsend. The previous owners loved ugly wallpaper (or maybe that was just their way of disguising the problem) and upon removing some it turned out that the plaster walls were cracked everywhere. If it were me I probably would have just spackled the crap out of them but for whatever reason my boyfriend decided they all had to come down. This created a ton of dust and the need for two dumpsters in order to dispose of around 500 lbs of plaster. I guess in the end it turned out to be a good thing, a couple of walls had water damage and a dining room and kitchen window were about ready to fall out. This of course turned into replacing all of the windows, thank goodness for a boyfriend who knows how to do pretty much anything and the $8k tax credit.
03 January 2011
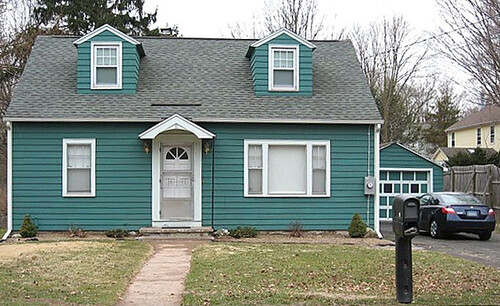
A little over a year ago we moved from a 3rd floor, 1 bedroom condo to a "4 bedroom" (more on that later) Cape. While there are certainly things I miss about the condo, like having a decent closet and non-angled walls in the bedroom. It's definitely nice not having to bring a dog down three flights of stairs multiple times a day and worry about noise and neighbors. It was and still is a fixer upper. We have accomplished a lot during our time here but it is still very much a work in progress. In the coming weeks I will share some of that progress with you and what still needs to be done.
Subscribe to:
Comments (Atom)


