

Part II of my baby gift tutorials.
Supplies
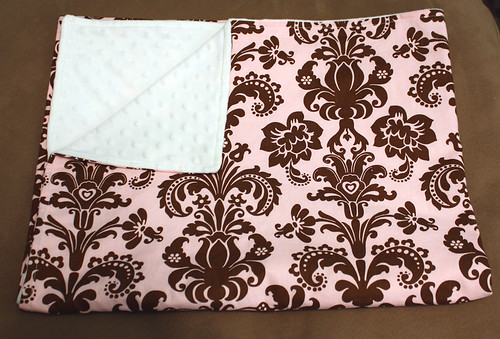
1 yard decorative fabric
1 yard minky fabric
Thread
Tools
Sewing Machine
Walking Foot (optional, but extremely helpful)
Rotary cutter, mat and ruler
Iron
Step 1:
Wash, dry and iron your decorative fabric. Also wash and dry your minky fabric.
Step 2:
Cut a 31x41" piece from your yard of decorative fabric. Cut your minky fabric a little larger. My finished piece will be 30x40, but you can make yours whatever size you like. Just make sure to cut enough material to incorporate a 1/2" seam allowance.
Step 3:
Pin fabric and minky right sides together and pin. The more pins the better, especially if you are not using a walking foot.
 Step 4:
Sew fabric and minky together making sure to leave a 5" opening. I like to start about 3/4 of the way down so that there is enough space on the top of that side to leave an opening.

Step 5:
Trim any excess minky so that it is even with your decorative fabric.

Step 6:
Clip corners at a 45 degree angle.

Step 7:
Turn your blanket right sides out, pushing the corners out with your fingers.
Step 8:
Iron the entire piece. Then fold in the edges of your 5" opening, press and pin.

Step 9:
Topstitch around the perimeter of your blanket.
Very beautiful blankets...
ReplyDeleteThanks for the post...Engraved Hip Flasks