 Here is another free calendar courtesy of a print a day. The dates have been left out so that you can use it year after year.
Your much needed dose of orange. All about home decor, crafting, tutorials, furniture and any other random topics that I feel like posting about.
Another free calendar
30 November 2009
Here is another free calendar courtesy of a print a day. The dates have been left out so that you can use it year after year.

17 November 2009
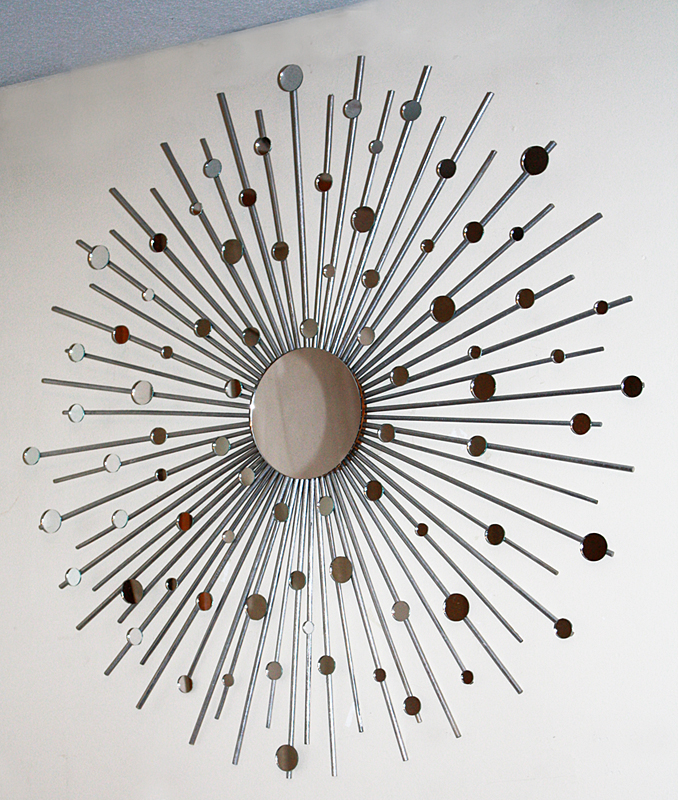
With the nice versions of these mirrors going for over $100, it's worth attempting to make your own. This is actually my sister's DIY project, but since I'm the crafty one, I helped a bit.
Tutorial can be found here.
We did stray from the tutorial somewhat. We used spray paint instead of silver leaf and a larger mirror in place of the automotive mirror.
Tutorial can be found here.
We did stray from the tutorial somewhat. We used spray paint instead of silver leaf and a larger mirror in place of the automotive mirror.
Pin It
13 November 2009
 First came the freedom blanket, then the slanket and then the snuggie. They all seem pretty ridiculous and the snuggie commercials are extremely cheesy. But then I got to thinking about all the times when I have been nice and warm under a blanket and need to grab the remote, or the phone or eat something and you have to weigh the options of whether exposing your hands to the cold air is worth it. Maybe there is something to this whole blanket with sleeves idea after all.
No need to buy one, just make one yourself. Free snuggie patterns are available here and here. Happy snuggie making!
10 November 2009
 If you are looking for free Photoshop brushes, patterns and other digital freebies check out Pixels & Ice Cream. She is extremely generous in allowing people to use them for both personal and commercial use.
05 November 2009
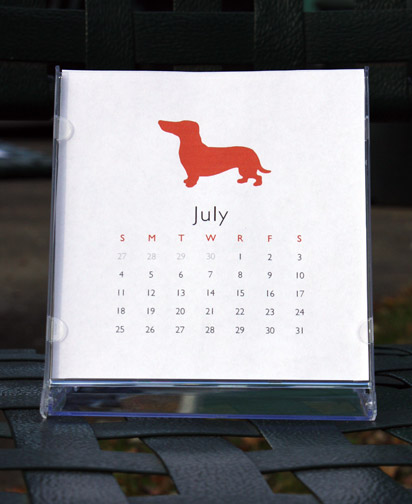
Printable Dog Silhouette Calendar
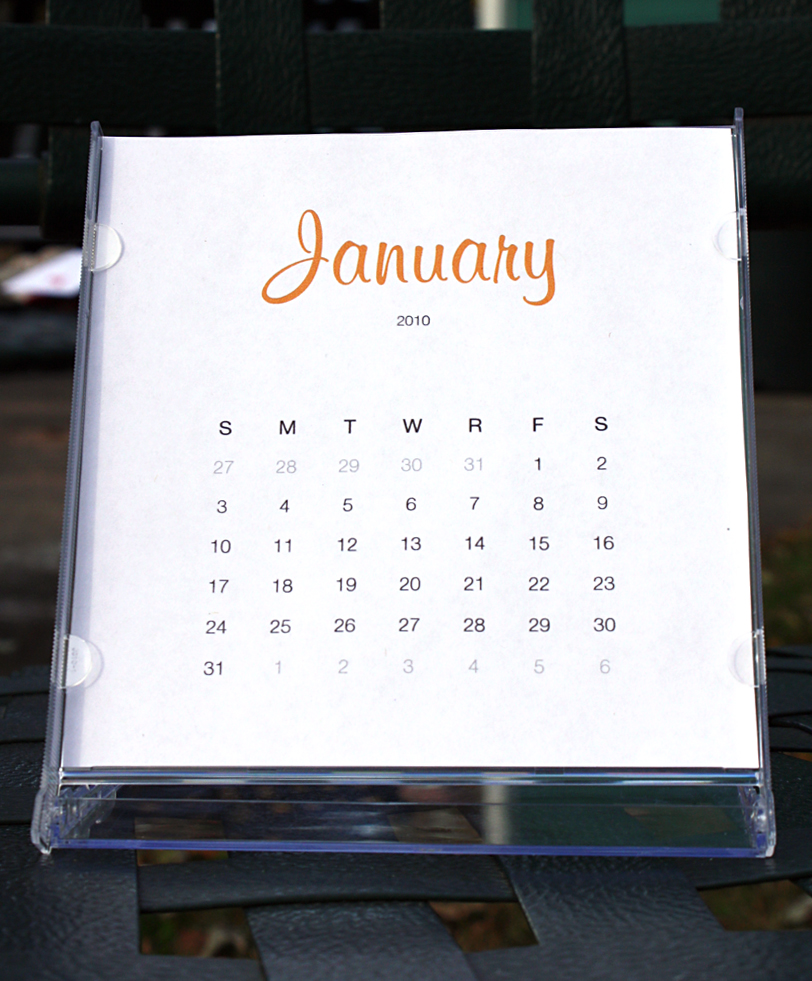
Nice and Simple Printable Calendar
My 2010 printable calendars are up for sale in my etsy shop. Make sure to take a look!
02 November 2009
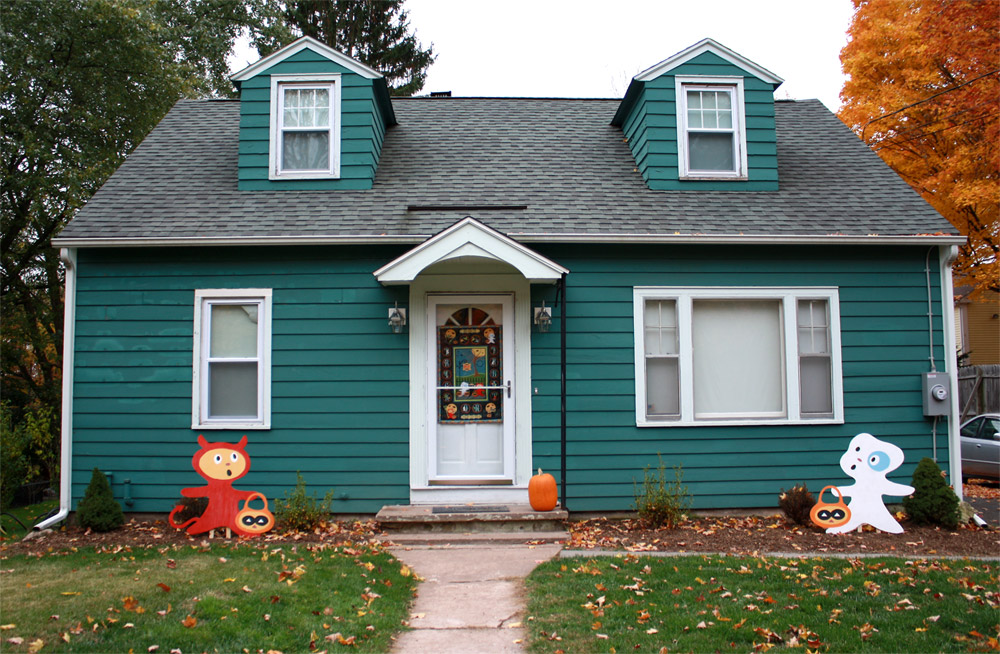
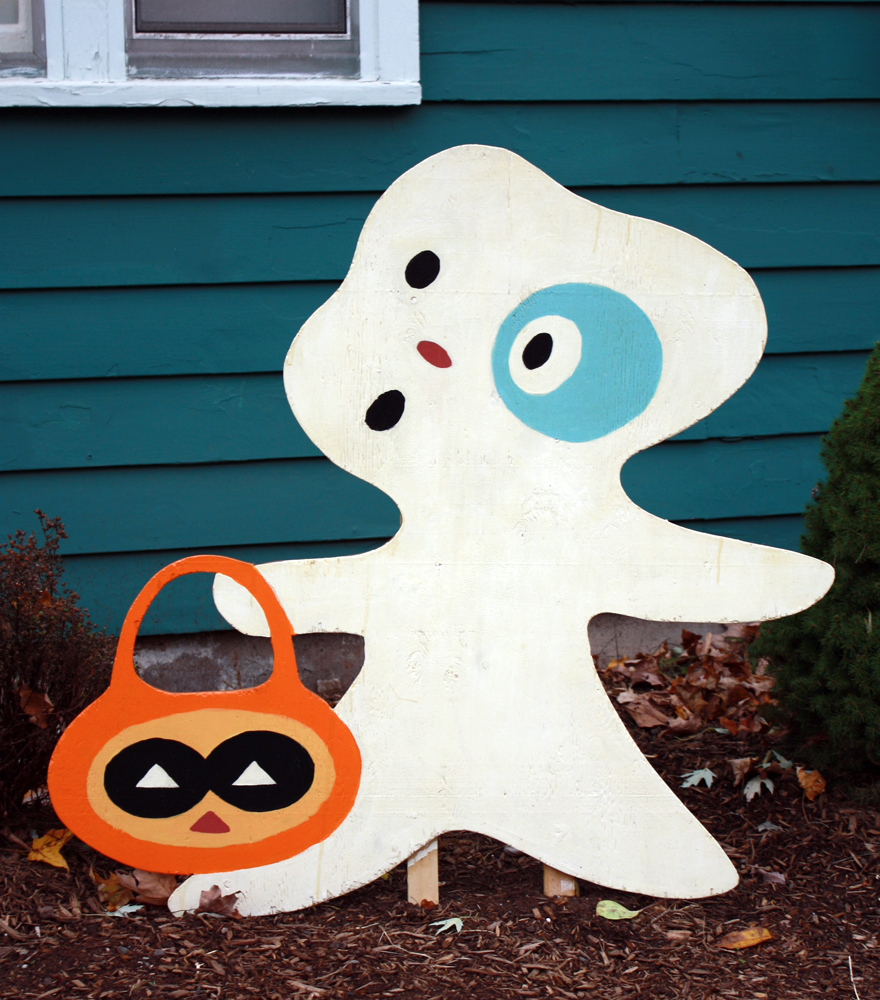
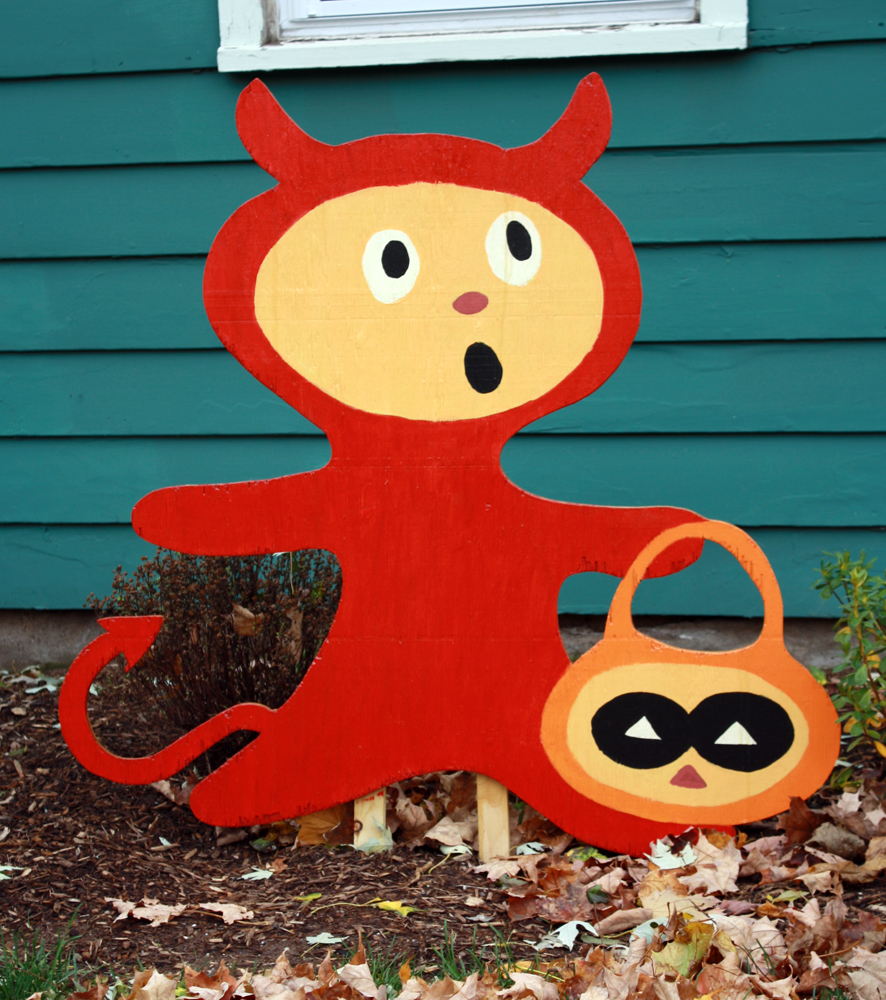
Aren't they adorable? Originally my plan was to make a Scooby Doo scene, but since we were already into the month of October I decided to go with these characters instead.
Subscribe to:
Posts (Atom)