Pages

Fabric covered button magnet tutorial

27 February 2009

Before taking on this project our fridge was covered in those magnets they send along when you order a pizza. Why I stick them on the fridge instead of throwing them away, I'm not sure. After using a button covering kit for my headboard project, it was incredibly easy to figure out how to make magnets. So much more attractive than pizza magnets.
Supplies needed:
Fabric scraps
Cover button tool and flat back buttons
E6000 or hot glue gun and glue sticks
Magnets

Step 1:
Cover some buttons. (If you need help see this tutorial).

Using the flat back buttons are a little tricky (or at least they were for me) because there are no loops to show you which side should be facing up. Make sure the indentation is facing up and not down. I was having a hell of a time until my bf pointed out that I was doing it the wrong way.
Step 2:
Apply a glob of glue to the back of your covered button and press on a magnet. (I used super heavy duty 3/8" neodymium magnets but regular magnets will work just fine too.)

Resources:
Three great places to buy cover buttons are coverbuttons, FiddlersCreekDesigns and everythingribbons

I bought my heavy duty magnets from DancingMagpieSupply. Or you can by regular magnets from jcaroline.

Nostalgia

26 February 2009

Even though we live in the era of high definition gaming I'm still all about old school nintendo. No console will ever bring me greater joy than watching those little pixelated characters jump around in their two-dimensional environments. I grew up in the 80's and the NES was my first game system, it will always hold a special place in my heart.

Sometimes I'm just down for a game of Super Mario 3. You know how that is, right? But I'm not down for the blinking screen which was a frequent problem.

Worry no more, you can play a whole range of old school NES games at nintendo8.com or Console Classix (PC only unfortunately). Aren't the internets great?

I'm on a Boat

25 February 2009

Fabric love

24 February 2009

Ebay finds

23 February 2009

Catherine Holm lotus plate

I think this seller has lost their mind asking $125, but it's still pretty.


Tissue box cover $9.95

I never learn

21 February 2009

I'm constantly doing this and yet I still never learn. I go to the store and see something I like but don't want to part with my money. I then decide that I do want it and go back to the store a few weeks later only to find that the item is no longer available.

This happened to me a few months ago with a pair of Express jeans and just today with a piece of artwork at HomeGoods.

If you see this print somewhere let me know. (Yes, I'm one of those people that takes pictures of things I like at the store.)
I did score this lamp though. The stacked ball lamp may no longer be trendy but I love it and that's all that matters.

Zoom Zoom

20 February 2009

Was orange a trendy color in 2004? I don't remember but around that time a lot of cars were available in orange. As you can tell I'm hoping my next car will be...you guessed it....orange.

Mazda3

Acura RSX

Honda Element

Over Her Dead Body Set

19 February 2009

Over Her Dead Body certainly won't win any awards but Ashley's (Lake Bell) apartment is to die for. The open layout. The curved windows. The colorful kitchen. The gorgeous sofa. The detailing on the door. Even the stairs in the hallway have cute little tiles on them. Aside from a loft this is my dream apartment.


Throw pillows

18 February 2009

Gemini Flamingo Pillow, $65, BlisslivingHome

Feather Pillow by Thomas Paul, $100, Bobby Berk Home

Dachshund Pillow, $39.95, Naked Decor

Soft pants

17 February 2009

I have an unhealthy obsession with sweatpants (not very stylish but so comfy). These sweatpants at Old Navy are the best. Only $15. Buy them in every color...I just might.

Craigslist

16 February 2009

Craigslist in Connecticut is pretty sad. It's definitely not as popular here when compared with states that actually have a major city. You won't find any great deals on Eames lounges or Saarinen tables here. Just lots of boring furniture, ugly green couches and Ikea cast offs. That's why I'm always extremely jealous of the great finds that can be had in other areas like this retro fireplace in Minneapolis, MN.

On a side note people really should put more of an effort into taking better photographs.

I've been dying for one of these retro fireplaces, not that I actually have a place to put it. I looked on ebay and check out what I found.

Retro Orange Fireplace, Starting bid: $100

If anyone out there actually dislikes the color orange, there is one available in yellow too.

Retro Yellow Fireplace, Starting bid: $199

Watch Dollhouse!

13 February 2009

I like TV shows with a sci-fi twist, unfortunately a lot of them get cancelled too quickly, especially on FOX. So make sure to watch Dollhouse, it premiers tonight!

Vote for me!

12 February 2009

Don't forget to vote for my February jumpstart project entry on apartment therapy.

Best brownies ever

11 February 2009

I have raised the white flag and surrendered to the box mix. Typically I bake from scratch but I just can't find a good recipe and they end up going stale after a day. In my quest for great brownies I stumbled upon the best brownies ever, and the crazy part is they're from a box. Sure Ghirardelli costs a little more than Betty Crocker, but they're so worth it. Even my homemade brownies didn't taste this good.

Do you Kaboodle?

09 February 2009

No not that kaboodle. I'm talking about the social shopping community that's a great way to keep track of your wants and needs. So do you?

Louis Bed

06 February 2009

Isn't this bed gorgeous? It's a perfect mix of modern and baroque. I'm officially obsessed and must own one someday. To see more pictures of this fabulous bed visit NOTCOT.

Stop unwanted catalogs

04 February 2009

I love looking through a good catalog as much as the next girl, but the fact of the matter is that I receive way too many and rarely ever place an order. Unfortunately even if I wanted to, I wouldn't know how to go about canceling them, until now. Catalog Choice claims to be the answer to my problem. It is sort of like a do not call list for catalogs. You tell them which ones you don't want to receive and they notify the companies. Takes about 90 days to stop the catalogs. The verdict is still out on whether or not it works, but it's free so why not give it a shot.

Wal Mart...who knew?

03 February 2009

Chocolate Mousse Frosting

02 February 2009

Yum, I found this recipe online and tweaked it a bit. Probably extremely fattening, but so good.

3 cups heavy cream
1 1/2 cups confectioner's sugar
1/2 cup cocoa powder
1 tsp. vanilla extract
dash salt
8 fun-size Kit-Kat bars (chopped)

In a chilled bowl blend ingredients, add chopped Kit-Kat's, then whip until mixture holds peak. Refrigerate. Frosts two (9-inch) round layers.

DIY Tufted Headboard

01 February 2009

DIY Headboard

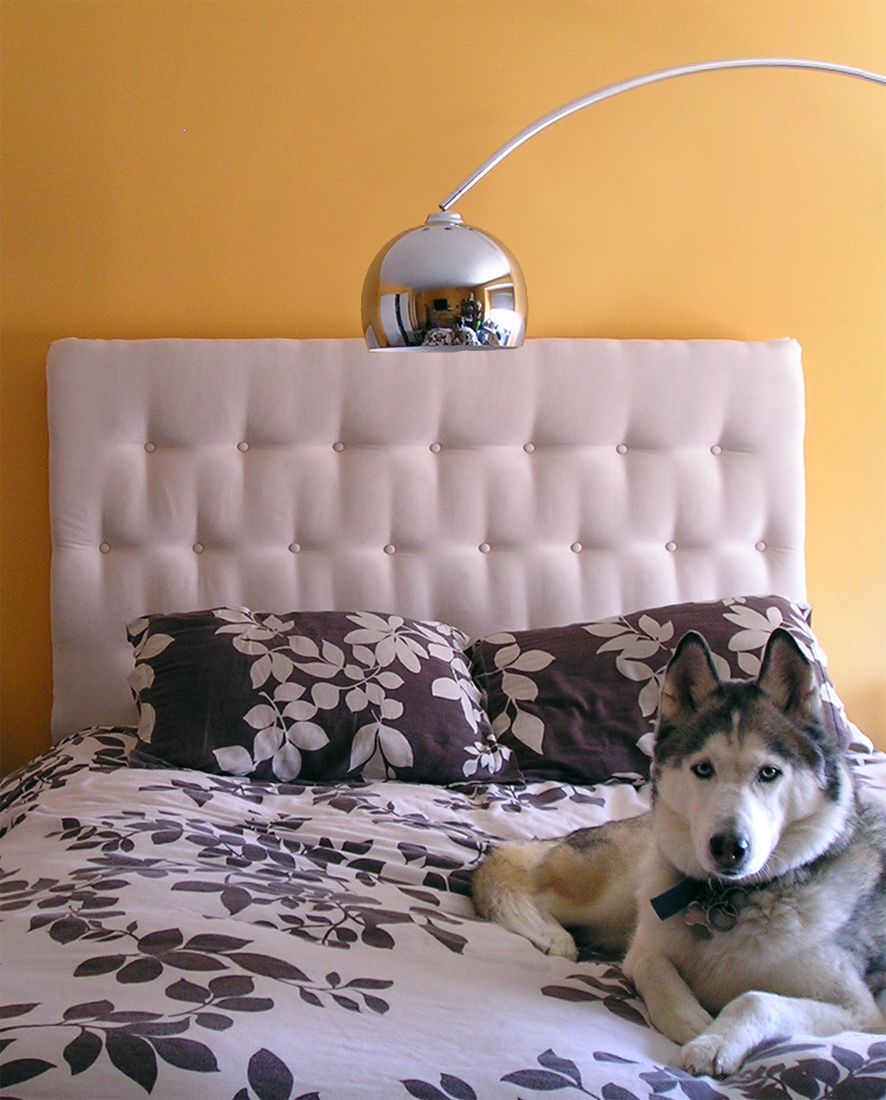
I love the look of a tufted headboard, but could never bring myself to part with $400+ to buy one. Then I thought, why not make one? The result was a fabulous looking headboard, if I do say so myself. If you have always wanted a headboard and have a free day, a friend to help out and around $100, you too can make your very own headboard. If I can do it, anyone can. Go for it.

DIY Headboard Detail

Supplies:

1/2" Plywood
Foam (at least 2" thick)
Polyester Batting
Upholstery Fabric
Upholstery Thread
Upholstery Needle
Cover Button Tool and Buttons
Scissors
Spray Adhesive

See below for mounting options and supplies needed

Tools:
Staple Gun and 1/2" Staples
Tape measure
Drill
Hammer

Optional but helpful:
Rubber Mallet
Electric Knife

Step 1: Look for inspiration
Headboards can be made in a variety of shapes and sizes, depending on how ambitious you want to be. Since I had never made one before I stuck to your standard rectangle shape. My inspiration was this Nate Berkus headboard.

Step 2: Take Measurements

Width: Measure the width of your bed. The headboard should be a about 1" or 2" larger in width than your mattress.

Height: This is up to you. If you are planning on leaning against it while in bed make sure it is tall enough. Measure from the top of the mattress to the height you want the headboard to be.


Step 3: Buy Your Supplies:
You can buy plywood in large sheets. Have the hardware store cut it to size. (Most stores will do this for free.) The sheet probably won't lay exactly flat, but it isn't a big deal.

You may know of a better source for foam but I bought mine at JoAnn fabrics for 50% off. I had to buy two pieces because their foam only comes in one width and this accounted for about half the money spent on the project.

When buying your batting and fabric, make sure you have enough to wrap around the front and secure to the back. (I wouldn't recommend a patterned fabric for your first try.) Two layers of batting over your foam is recommended.

Step 4: Put It All Together:
1. Find a clean, well ventilated work area.

2. Determine how many buttons you will use and where you want them to go. (Just a heads up the tufting was by far the most time consuming part.) Mark the board and drill small holes. (Just small enough for the upholstery needle to pass through, this will help keep the buttons lined up.)

3. Lay the plywood down and spray one side with adhesive and adhere the foam. Cut off any excess foam so that it is exactly flush with the plywood. There should be no overlap. (This is where that electric knife comes in handy.)

4. Push your upholstery needle through the holes you just drilled the foam. Make shallow cuts into the foam where your upholstery needle comes through.

5. Spray the foam with adhesive and hold one side of the batting while your friend holds the other side and pull taut. Place on top of foam. Make sure there is no puckering because it will show through the fabric. Repeat for second layer of batting.

6. Flip the plywood, foam and batting over and lay it flat on the ground. Wrap the batting around to the backside and staple in place.

7. Lay fabric on the floor wrong side facing up. Place plywood, batting side down on top of fabric. Wrap fabric around to the back of the headboard, secure the fabric loosely with a few staples.

8. Use the button covering kit to cover your buttons. (See this tutorial on youtube for help.) This part is a pain. The smaller the button, the more difficult it is to cover them. (A rubber mallet will be helpful. I ruined my button maker with a hammer.)


9. Double thread your upholstery needle with upholstery thread and poke through one of your pre-drilled holes from the back to the front. Don't pull all the way through! Make sure to leave some thread hanging out of the back. Slide the button onto the thread and poke the needle back through the same hole. Push the button on the front of your headboard into the foam while your friend tightly secures the thread on the back with a bunch of staples. You will need a hammer to bang in the staples, so that the thread will stay secure. (There is probably a better way to secure the thread but this is how I did it.)

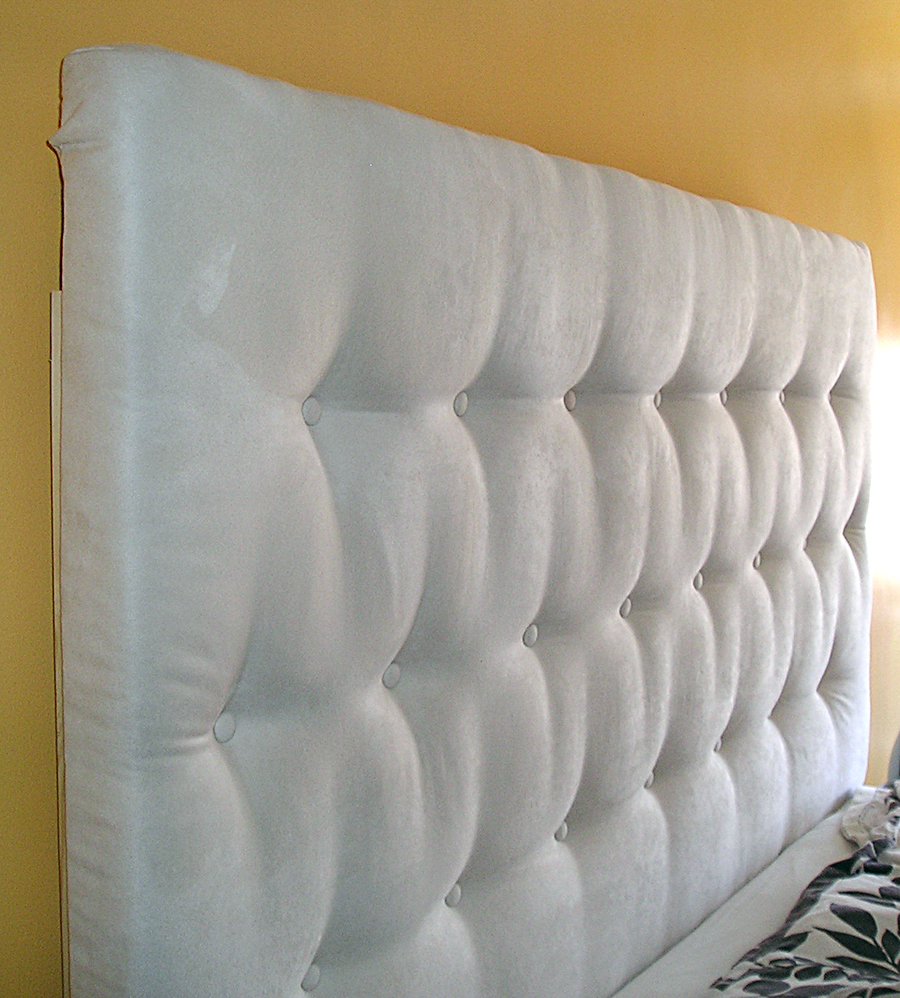
10. Continue along and tuft each of your holes.

11. When all the tufting is finished, secure the fabric to the back of the plywood with more staples.

12. Step back and admire your work.

Mounting Options:

There are three ways that I know of to mount your headboard; legs, a french cleat or flush mounts.

Legs are the most apartment friendly method because it doesn't involve drilling holes into the walls. Just make sure that the headboard sits a little above your mattress or else it can interfere when you are trying to make the bed. For this option you will need two 1x4's cut to size. The legs should be about 2" above the floor and within 5" of the top of the headboard. Screw the 1x4's to the back of the headboard and then bolt them onto your bed frame.

A French cleat is a little more involved but this is my favorite method. To use this method take a board and rip it at a 45 degree angle. Then you mount one piece to the back of the headboard and the other to the wall. The headboard sits on the upward facing angle making it very sturdy. You will also need to attach another piece of wood to the bottom of the headboard to keep it level. Hopefully this video and image can help clarify things.

The flush mount method can be found at bejane.com.

Tips:
If you have a Joann Fabrics in the area, this is the place to buy most of your supplies. I was able to get my fabric, foam, and batting for 50% off. Most of the other supplies can be bought with one of their 40% off coupons.

DancingMagpieSupply on Etsy is a great resource for buttons.

For this project I pieced together instructions from a variety of sources online, mainly bejane and joann fabrics.

*****
I’m sharing this post at: Remodelaholic * Finding Fabulous * Miss Mustard Seed


This project was featured at:


&

Apartment Therapy


&

So Very Creative


Pin It